
When you own a trailer, both the practical and legal requirements mean that you need to know how to fix trailer lights.
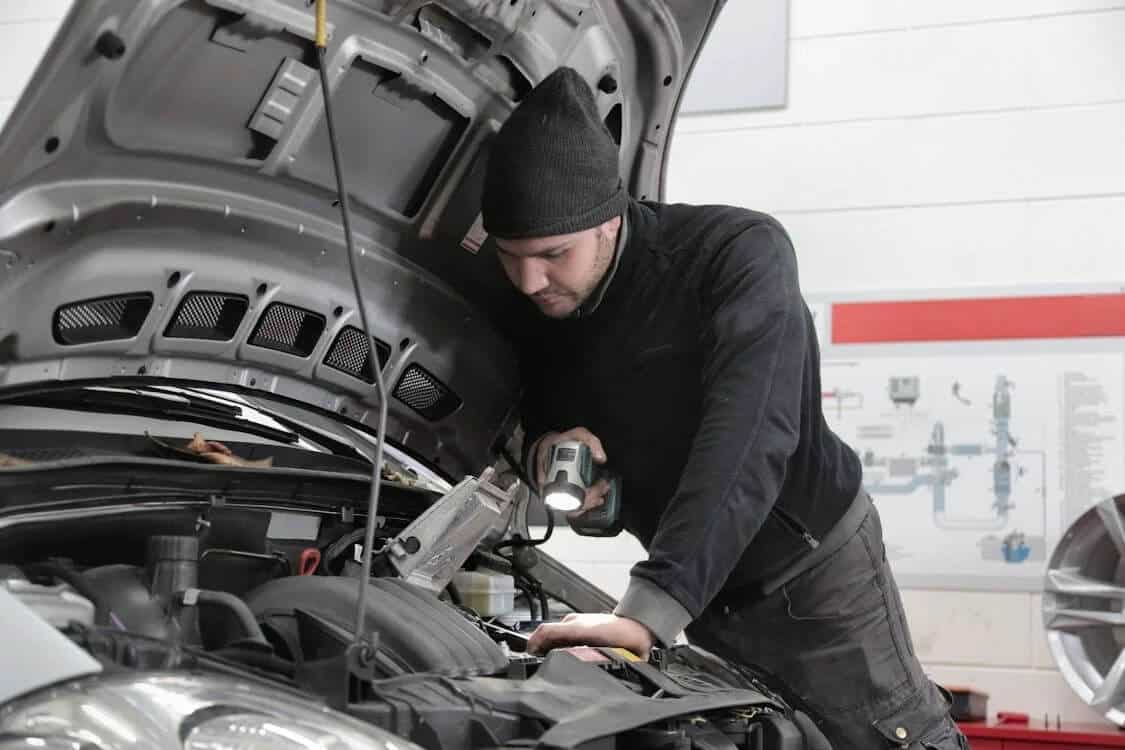
At the very least, you need to know how to diagnose trailer lights, so that if your trailer lights won’t work, you know what to tell your mechanic.
In this article, we will take a closer look at troubleshooting trailer lights, and give you all the basic information you require to narrow down the potential causes of your trailer light problems.

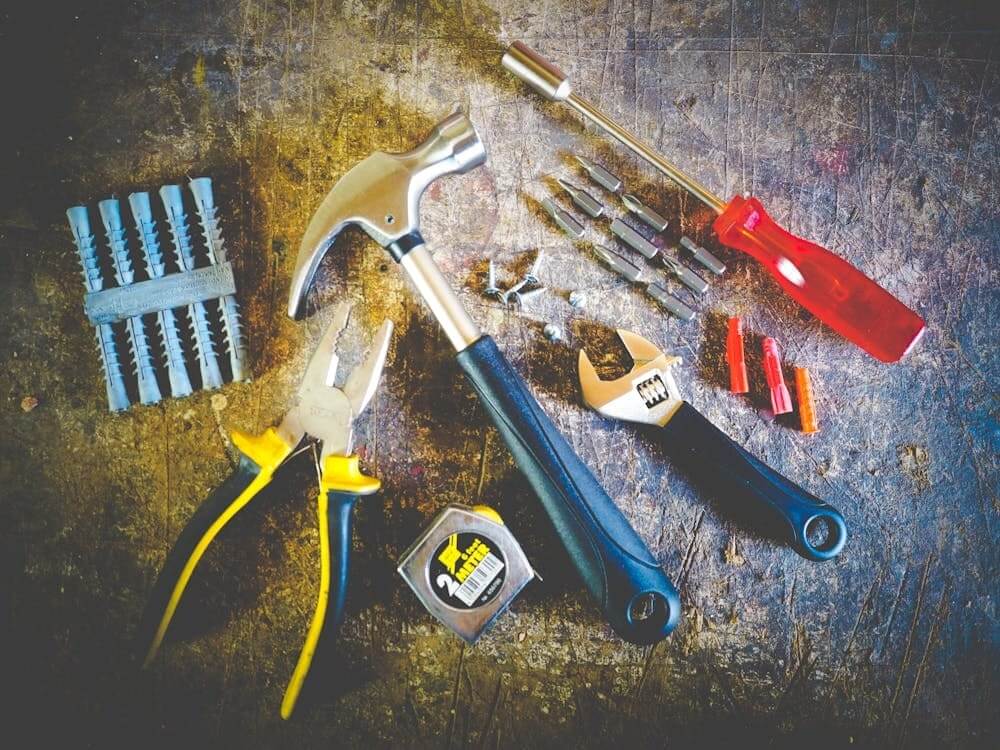
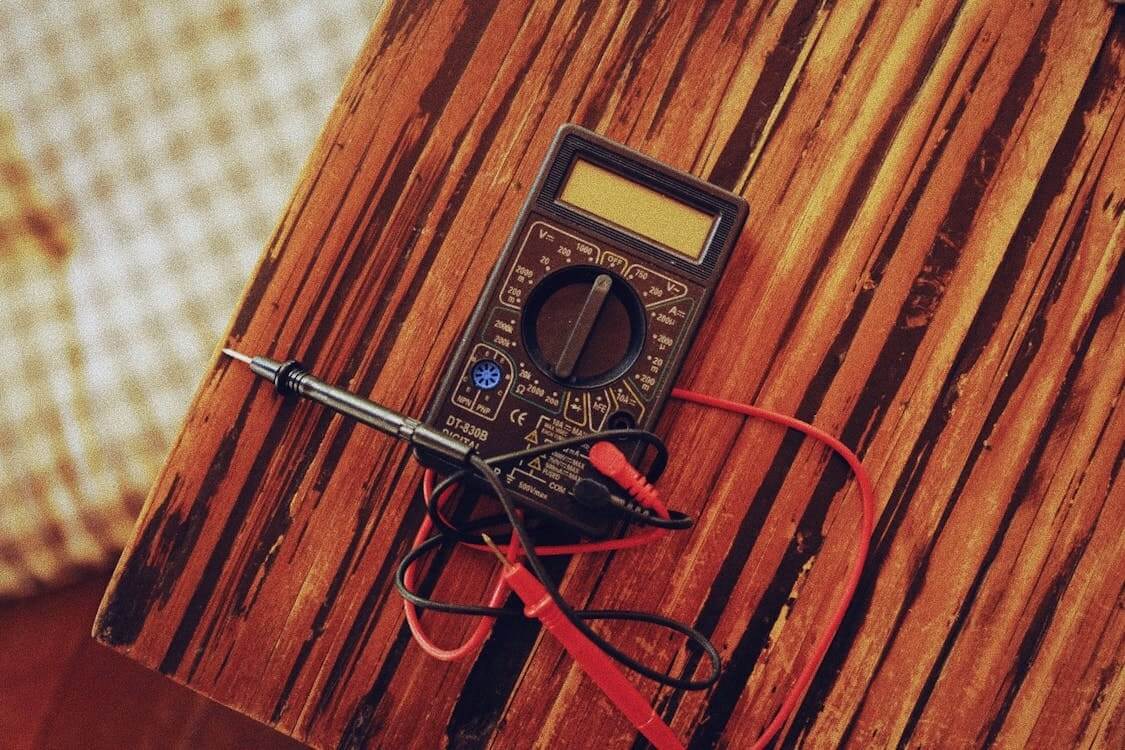
As with any technical endeavor, answering the question, “Why aren’t my trailer lights working,” will require a range of different tools.
In this section, we will mention and discuss the purpose of various tools that may be helpful in the trailer light troubleshooting process.

If you have been asking yourself the question, “Why won’t my trailer lights work,” then you are in the right place.
We are about to take you through the identification and troubleshooting process step by step to help you figure out exactly what is wrong with your trailer’s lights.
Depending on how much of the process you need to go through, you may require several of the tools listed above. It would be best to familiarize yourself with the list of tools before starting this process.
When trying to determine where the problem is, the first thing you need to do is independently test the vehicle and trailer lights.
If the vehicle lights work properly but the trailer lights don’t, then it’s either a problem with the connection between the vehicle and the trailer or the trailer light system.
If neither the vehicle lights nor the trailer lights work properly, then it is probably a problem originating with the vehicle. Ensure that you check all of the vehicle fuses to see whether or not it’s something as simple as a blown fuse.
If that is the case, it might turn out to be a relatively simple fix.
If you have determined that the problem definitely lies with the trailer lighting system, then it’s time to start testing the different functions.
In the case of a four-way plug, you can simply use a 12-volt circuit tester to check the function of the lights on your vehicle. You will need an assistant for this task to help activate different lights so you can focus on testing and observation.
Here’s how:
Pro tip: vehicles may have either two or three wires. A two-wire vehicle should have a green and yellow wire for the brake and indicator lights. A three-wire vehicle should have a red wire for brake lights and a yellow and green wire for turn signals.
Common causes in these situations may include these connections, faulty wiring, missing or broken fuses, and even missing relays.
In the case of hand-wired harnesses, it may also be the result of a weak ground connection or one that isn’t properly attached. Finally, misplaced or incorrectly connected wires on the tow vehicle may cause this problem.
If you’ve determined that the problem with the trailer lights is related to the wiring, then you should firstly start verifying whether all the wires are connected correctly.
In the case of hardwired trailers, this means inspecting all wires and connections to ensure that each wire is connected to the correct location. If available, use the wiring diagram for your particular trailer model to ensure that the wires are appropriately connected.
If your trailer model doesn’t come with a wiring diagram (and you can’t find one online), it’s best to refer to the standard color codes for trailer wiring. Some rules of thumb include the following:
In plug-in trailers, you’ll need to inspect each connector, looking for the following:
Any one of these defects (and other defects causing improper connection) can cause your trailer lights to malfunction or stop working. Here’s a quick step-by-step:
If neither of these things seems to be the problem, use a continuity tester to help you identify any broken wires within the system. Connect one end of a jumper wire to a connector pin and the other to the tester. Check for continuity at the socket. If there’s a break, cut the damaged section, solder a new piece, and insulate it.
If you find that an entire wire needs to be replaced or that several wires are faulty, it’s probably best to have the trailer rewired.
When troubleshooting your trailer lights, it is essential to also check that all the grounds are properly connected and that they are grounding properly.
First, check the ground area on your vehicle. Remove any corrosion and paint buildup from this area, as it may be interfering with the lights’ grounding abilities.
If your vehicle has a factory ground screw, ensure that there aren’t any additional ring terminals located below the ground. If that’s the case, try moving the harness’ ground to a different terminal.
Disconnect the existing ground wire and connect it to a wire running from the battery’s negative terminal. If that solves the problem, and the lights start working, you can simply keep this cable in place, and your problem is essentially solved.
When it comes to the trailer itself, ensure that the ground wire connects to the trailer frame. In the case of a trailer with a tongue fold, you should ensure that the ground connection is located behind the trailer’s tongue.
You also need to ensure that the ground wire isn’t connected to an aluminum area. If it is, move it to a steel part of the frame.
It is entirely possible to overload the circuits on your trailer lights when the circuit takes in more electricity than it was constructed for. In these cases, serious malfunctions like melting or overheating can occur.
For this reason, it is essential to familiarize yourself with your harness’s maximum amperage rating. Compare it to the draw of the lights. If it is more than the harness can handle, it can lead to a short circuit as well.
Try using a circuit tester to check the function of your 4-way plug (don’t plug the trailer in before testing).
Start by resetting the trailer, which simply means removing the fuse for a few minutes and then replacing it. If you test after this and find all functions present, the trailer may have a short.
If your trailer lights prove to be drawing more power than the harness is rated for, remove the light bulbs from the extra clearance lights before connecting the trailer. If you test the harness and it works without the bulbs, you have an overload.
Try swapping to LED bulbs, as they draw less power and might solve the problem.
When you are looking for problems with your trailer lights, a few more basic outlying issues may also be the cause. Below, we will take a closer look at these and how to solve each one.
While many people don’t fully realize the extent of the interference that corrosion can cause, it is a significant barrier to the proper working of any electrical system, including your trailer lights.
When troubleshooting trailer light problems, it is important to prioritize looking for corrosion in different areas. It may be either white or green in color and may occur on any mental surface, starting with the battery terminals and all the way to the wire connections on the lights themselves.
If you’ve already checked the car and trailer lights, then it’s time to look for corrosion. Check each part of the system, from the battery all the way through to the lights themselves.
If you find corrosion on any connectors that are easy to replace, replace them. Alternatively, clean them with a terminal cleaner or electrical contact cleaner and a fine wire brush.
If the corrosion is on the wiring socket or you find that a whole strand of wiring has begun to rust, you can use fine grit sandpapers to clean the sockets, but corroded wires will have to be replaced.
One often-overlooked aspect that can have a significant impact is missing, broken, or burnt-out light bulbs.
Before you go through all the efforts of running trailer light troubleshooting, check all of the individual light bulbs to ensure that they are in place and working. A simple test is to swap a light bulb that you know is working for the one that isn’t working.
If the light bulb that you know works doesn’t work in that socket, you know it is another problem. If it does work, you simply need to replace the light bulb. Of course, you can always exchange all the light bulbs as a precaution.
In some cases, the trailer lights may ground through the mounting hardware. In these instances, it is important to ensure that the mounting area is clean and paint-free. You also need to ensure that all the mounting bolts have clean contact with the trailer’s frame.

Under certain conditions it may become necessary to call in professional help with your trailer wiring problem.
If, during your trailer light troubleshooting, you discover that there are some complex types of problems, it’s best to leave it to a professional.
One example of this kind of situation is when you encounter complex wiring issues that are beyond your expertise. When you discover these kinds of problems, and you aren’t confident in your ability to repair them yourself, it is safer to pay someone else to do it for you.
Remember, there are always risks involved in any kind of electric installation. If you don’t have the knowledge needed to do it safely, don’t do it at all.
Another example that you may encounter, especially in high-humidity climates or those with harsh climate conditions, is extensive corrosion.
It’s also relatively common in older trailers that have been refurbished or repurposed multiple times. They may require complete rewiring, which is best done by a professional.
When your trailer lights don’t work, there are many different potential causes. However, as you can see, the actual process of trailer light troubleshooting is fairly straightforward. Many people believe that finding the problem and fixing it is incredibly complex, so they never even try.
The key is to go through the process logically and systematically so you narrow down the most likely problem. If you feel confident enough to repair said problem, you may even be able to save yourself a fair bit of time and money.
Contact our team if you’re looking for custom trailers for all your adventures!
Millennium Trailers is your trusted partner for high-quality trailers at unbeatable prices. Serving all 50 states, we’ve delivered over 5,000 trailers nationwide.
Established in 1998, we’re a company dedicated to meeting your hauling needs with excellence. Whether it’s cargo trailers or custom living quarters, we provide a wide range of options to suit your requirements. Our knowledgeable and friendly team ensures a smooth buying experience with personalized assistance. Proudly offering competitive pricing, state-of-the-art designs, and easy financing options. Committed to customer satisfaction, we strive to simplify the process of finding your perfect trailer.
Choose Millennium Trailers for a reliable, customized solution that delivers quality and value for your investment.
Copyright 1998 – 2023 Millennium Trailers, Inc.