
Installing a trailer hitch might seem challenging, but it’s something you can do with the right guidance. A trailer hitch allows you to tow trailers, boats, or even small campers behind your vehicle. Whether you’re planning a big move or a weekend adventure, getting a hitch install done correctly is crucial for safety.
But don’t worry! This guide will walk you through each step of the process. We’ll cover the basics, like choosing the right hitch and making sure it’s installed securely. By the end, you’ll know how to install a trailer hitch on your own. So, let’s get started!
Before diving into the installation, you need to pick the right trailer hitch for your vehicle. Not all hitches are the same. Some are designed for small cars, while others are made for trucks and SUVs.
Here are the most common types:
To choose the right hitch, check your vehicle’s manual. It’ll tell you how much weight your vehicle can tow. Match that with the trailer hitch you’re considering. If you’re unsure, you can ask at a store that sells trailer hitches or even do a quick online search for your vehicle’s make and model.
Now that you’ve chosen the right hitch, preparation is key before starting the installation. Proper preparation helps the installation go smoothly and ensures everything is done safely.
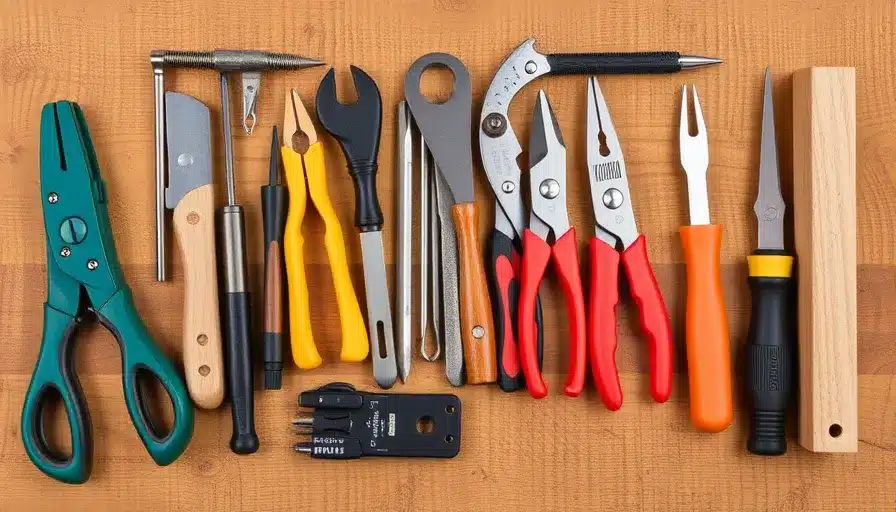
Before you dive into the installation, make sure you have all the necessary tools. Here’s what you’ll need:
Having all your tools ready before you start makes the process much more efficient and reduces the chances of interruption.

Once your tools are set, you’ll need to prep the area under your vehicle. Start by parking the vehicle on a flat, level surface. This ensures the vehicle stays stable while you’re working on it. Always engage the parking brake to prevent the car from moving.
Next, check the undercarriage where the hitch will be installed. You may need to remove the spare tire or other obstacles that block access to the vehicle’s frame. Some vehicles have skid plates or heat shields that might be in the way, so remove them temporarily if needed.
If your vehicle has built-up dirt, rust, or debris in the installation area, clean it thoroughly before attaching your trailer. This helps ensure a tight, secure fit for the hitch.
Safety is critical during trailer hitch installation. Before you start, ensure you’ve got proper lighting so you can clearly see what you’re doing. Wear gloves to protect your hands from sharp edges, especially when working under the vehicle. If you’re using a drill, safety goggles are a must to shield your eyes from metal shavings or debris.
If possible, have a friend or family member assist you. They can help hold the hitch in place while you align and secure it. Plus, having a second set of eyes is always helpful in spotting potential issues.
By preparing your tools, clearing the workspace, and taking safety precautions, you’ll be setting yourself up for a successful hitch installation. Taking these steps before the installation helps minimize mistakes and ensures everything goes smoothly when it’s time to actually install the trailer hitch.
Now comes the fun part: actually putting the hitch on your vehicle. First, locate the mounting points on your vehicle’s frame. These are usually pre-drilled holes that match up with the hitch.
Here’s how to do it:
If your vehicle doesn’t have pre-drilled holes, you’ll need to use a drill to create them. Be precise—getting these holes in the right spot is key to a successful hitch installation.
With the hitch in place, it’s time to secure it. This step is critical because the bolts are what hold everything together. Use the bolts and washers that came with your hitch.
Steps:
If you don’t have a torque wrench, consider borrowing one or getting it done at a shop. Proper torque is essential to avoid issues on the road.
Most trailer hitches need wiring so that your trailer’s lights and brakes work properly. This might sound complicated, but it’s usually just a matter of connecting a few wires.
Steps:
If your vehicle didn’t come with a wiring harness, you might need to buy a wiring kit. These kits usually come with detailed instructions.

Before you hit the road with your valuable cargo, it’s crucial to do a final check. This ensures everything is secure and functioning as it should.
Checklist:
Finally, take your vehicle for a short drive to see how the hitch performs under real conditions. If anything feels off, stop and inspect the hitch again.
Even though the steps are straightforward, there are common mistakes people make during trailer hitch installation.
Avoid these pitfalls:
Taking a few extra minutes to double-check everything can save you a lot of trouble down the road.
Installing a trailer hitch doesn’t have to be overwhelming. With the right tools, some patience, and our step-by-step guide, you can complete the job and tow safely.
Whether you’re doing a DIY hitch install or choosing professional help, Millennium Trailers offers a range of open and enclosed trailers to match your vehicle’s capacity, business or personal needs, and, of course, budget!
Always double-check your work, test the setup, and know that a well-installed hitch makes towing safer and more efficient. Now that you know how to install a trailer hitch, you’re ready to hit the road with confidence!
Q: How do I know if my vehicle is compatible with a trailer hitch?
A: Check your vehicle’s manual or look up your make and model online. This will tell you the maximum towing capacity and whether your vehicle can handle a hitch.
Q: Can I install a trailer hitch myself, or do I need a professional?
A: If you’re comfortable with basic tools and following instructions, you can install a hitch yourself. However, if you’re unsure, it might be worth hiring a professional to ensure it’s done correctly.
Q: How long does it take to install a trailer hitch?
A: On average, it takes about 30 minutes to a few hours. This can vary depending on your vehicle and whether you need to drill holes or wire the hitch.
Q: How do I maintain my trailer hitch for longevity?
A: Regularly check the bolts and wiring, especially before long trips. Keep the hitch clean and free from rust. Applying a rust-preventative spray can help extend its life.
Bibliography:
Millennium Trailers is your trusted partner for high-quality trailers at unbeatable prices. Serving all 50 states, we’ve delivered over 5,000 trailers nationwide.
Established in 1998, we’re a company dedicated to meeting your hauling needs with excellence. Whether it’s cargo trailers or custom living quarters, we provide a wide range of options to suit your requirements. Our knowledgeable and friendly team ensures a smooth buying experience with personalized assistance. Proudly offering competitive pricing, state-of-the-art designs, and easy financing options. Committed to customer satisfaction, we strive to simplify the process of finding your perfect trailer.
Choose Millennium Trailers for a reliable, customized solution that delivers quality and value for your investment.
Copyright 1998 – 2023 Millennium Trailers, Inc.