Maintaining your trailer brakes is crucial for ensuring safety and performance whenever you get out on the road. Regardless of the type of trailer you’re using, neglecting brake maintenance can lead to situations that will not only endanger your own safety, but also that of the other vehicles around you.
What happens when your brakes stop working as intended, though? In many cases, replacing them altogether is the only option you’re left with. If you don’t really know how to get down to this task, it’s perfectly understandable – after all, it’s not exactly common knowledge.
This is why we’ve created this guide – it will walk you through the entire process of replacing trailer brakes step-by-step, focusing on both electric trailer brakes, as well as brakes on a travel trailer. By the time you’re done reading, you’ll have a clear understanding of why you need to replace trailer brakes, what tools and materials you need, and the detailed steps to complete the task efficiently and safely.
Before you get to work on replacing your trailer brakes, it’s important to have a solid understanding of what trailer brakes are and why they are essential. You’ll need to know the different types of trailer brakes, such as electric and hydraulic, and explain their functions. Additionally, we’ll delve into the critical reasons why you need to replace trailer brakes regularly, highlighting the signs of wear and the potential risks of neglecting brake maintenance.
A thorough comprehension of these aspects will not only prepare you for the replacement process but also underscore the importance of maintaining your trailer brakes for safe and reliable towing.
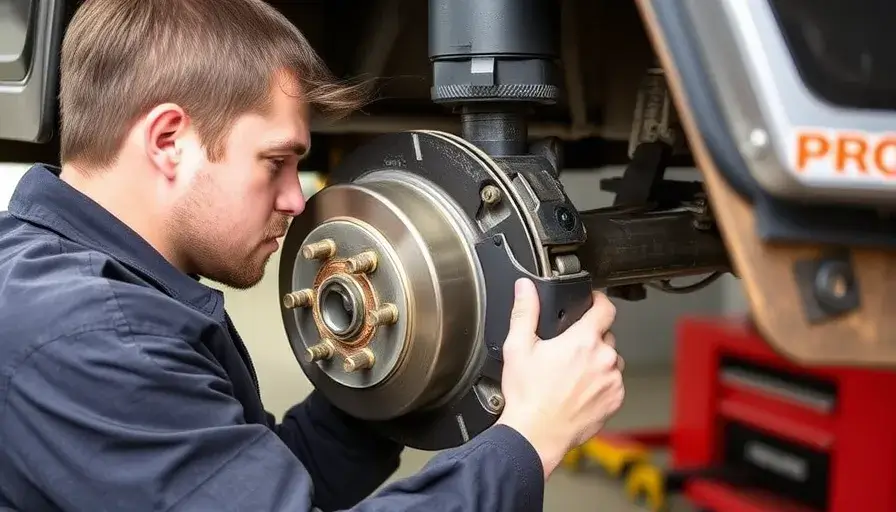
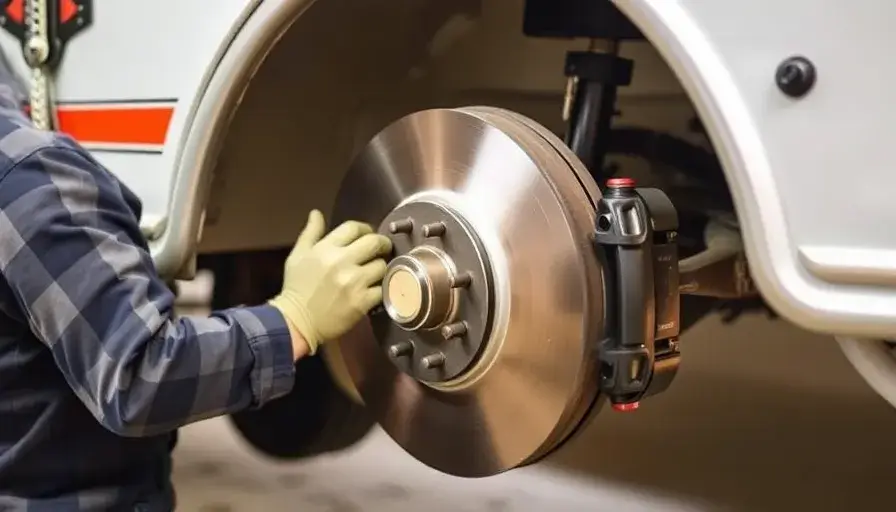
Trailer brakes are an essential component of any towing system, helping to slow down and stop the trailer when the towing vehicle brakes. There are different types of trailer brakes, including electric and hydraulic brakes. Electric trailer brakes are the most common and are activated by an electrical signal from the towing vehicle, while hydraulic brakes operate using fluid pressure.
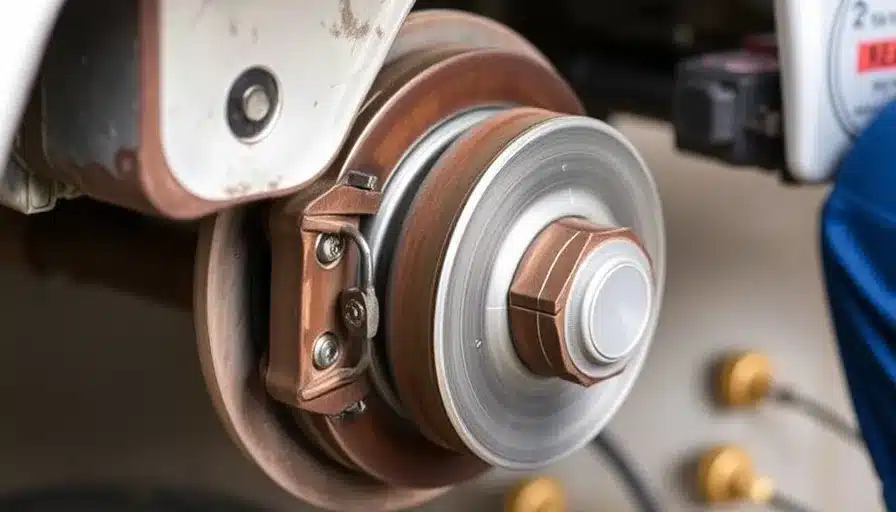
Understanding why you need to replace trailer brakes is essential for maintaining the safety and functionality of your trailer. Over time, brake components wear out due to friction and heat generated during braking. Worn-out brakes can lead to decreased stopping power, longer stopping distances, and even brake failure. Regular replacement ensures that your trailer brakes remain effective, reducing the risk of accidents and ensuring smooth towing.
Signs that your trailer brakes need replacement include:
Take the First Step Towards Designing Your Own Custom Trailer with Millennium Trailers

Before diving into the process of replacing your trailer brakes, it’s crucial to be well-prepared. Proper preparation not only ensures a smooth and efficient brake replacement but also guarantees your safety throughout the procedure. In this section, we will outline the essential tools and materials you’ll need and provide important safety precautions to follow. By gathering the right equipment and adhering to recommended safety measures, you can avoid common pitfalls and ensure that the brake replacement process goes off without a hitch. Let’s get everything ready so you can replace your trailer brakes confidently and effectively.
Before starting the brake replacement process, gather the necessary tools and materials:
Safety is paramount when working on your trailer brakes. Follow these safety precautions to avoid accidents:

Replacing trailer brakes might seem like a daunting task, but with the right tools and a step-by-step approach, it can be done efficiently and safely. Below, we’ll guide you through the entire process, from lifting your trailer to testing the new brakes. Whether you need to know how to replace electric trailer brakes or brakes on a travel trailer, this guide covers everything.
By following these detailed instructions, you’ll ensure that your trailer remains safe and functional, providing peace of mind during your travels. Let’s dive into the steps and get your trailer brakes working like new again.

Regular inspection of your trailer brakes is crucial for maintaining their effectiveness. Check the brakes before every trip and look for signs of wear or damage. Pay attention to any unusual noises or changes in braking performance.
Keeping your brake components clean and properly lubricated extends their lifespan. Use brake cleaner to remove dirt and debris from the brake assembly. Apply a small amount of high-temperature brake grease to the moving parts to ensure smooth operation.
While many trailer brake replacements can be done at home, some situations may require professional assistance. If you encounter complex issues or are unsure about any part of the process, seek help from a qualified mechanic. Additionally, regular professional inspections can identify potential problems before they become serious.
Replacing your trailer brakes is a crucial maintenance task that ensures the safety and performance of your trailer. By following this comprehensive guide, you can confidently replace electric trailer brakes and brakes on a travel trailer. Remember, understanding why you need to replace trailer brakes and maintaining them regularly will keep your trailer in top condition, providing peace of mind during your travels.
Prioritize safety, follow the steps carefully, and don’t hesitate to seek professional help when needed. Happy towing!
Click Here to Reach Out to Our Trailer Experts
Millennium Trailers is your trusted partner for high-quality trailers at unbeatable prices. Serving all 50 states, we’ve delivered over 5,000 trailers nationwide.
Established in 1998, we’re a company dedicated to meeting your hauling needs with excellence. Whether it’s cargo trailers or custom living quarters, we provide a wide range of options to suit your requirements. Our knowledgeable and friendly team ensures a smooth buying experience with personalized assistance. Proudly offering competitive pricing, state-of-the-art designs, and easy financing options. Committed to customer satisfaction, we strive to simplify the process of finding your perfect trailer.
Choose Millennium Trailers for a reliable, customized solution that delivers quality and value for your investment.
Copyright 1998 – 2023 Millennium Trailers, Inc.